Building a cold plunge at home can save you thousands of dollars. Commercial tubs often cost between $3,000 and $10,000. A DIY setup can cost under $200 if you start with a basic insulated tub and bags of ice. This guide covers the full range from ice tubs to chiller setups. You will learn what to buy, how to set it up, and how to stay safe. If you are new, read cold plunge benefits and cold plunge temperature guide before you build.
Cold water immersion has real research behind it. A 2022 review indexed on PubMed found that cold water immersion may reduce muscle soreness after exercise. The Mayo Clinic notes that cold shock can cause rapid breathing and heart rate spikes. For that reason, start slow and have a plan. This article walks through every step. You will also find links to safety guides and product comparisons. Even a simple tub can work if you follow basic safety rules.
We will go from simple ice tubs to a chiller setup. You do not need plumbing or electrical skills for the first version. A stock tank and frozen water bottles work. The catch is that ice tubs need daily ice. A chiller setup costs more but keeps water at your target. We compare cold plunge vs ice bath later. This will help you decide when to upgrade.
Plan for 50 to 59 degrees F as a beginner. Sessions of 2 to 5 minutes are enough. Most coaches suggest 2 to 3 sessions per week. Check how often cold plunge and cold plunge protocol for beginners. You will also want a digital thermometer and a cover for the tub. Build the habit before buying a chiller.
What You’ll Need
- 100 gallon livestock stock tank or 7 cubic foot chest freezer
- Digital water thermometer
- Rigid foam insulation and waterproof tape
- Tub cover or rigid foam lid
- Submersible pump and filter (optional)
- 1/3 hp water chiller (for chiller setup)
- Food grade hydrogen peroxide or spa sanitizer
- GFCI protected outlet (for chiller or pump)
How Do You Build a DIY Cold Plunge?
- Pick your DIY cold plunge style and budget
First decide between three setups: basic ice tub, chest freezer conversion, and insulated tub with chiller. A basic tub costs $50 to $200. A chest freezer setup often costs $200 to $600 before the chiller. A full chiller setup can run $800 to $2,500. Your budget decides how much daily work you accept. See best cold plunge tubs 2026 for commercial comparisons if you want a baseline.
The basic style uses frozen water bottles or bags of ice. You add ice after each session or before each use. It is simple, but the water temperature swings. Still, it is the best starting point for most people. You learn if cold exposure works for you without spending too much.
Chest freezer conversion is a popular step up. You can unplug the freezer during use for safety. Some builders keep it plugged in only to cool water, then unplug before entering. If that sounds complex, review DIY cold plunge chest freezer before buying. This option holds temperature better and uses less ice.
A chiller setup is the most consistent. A small water chiller, pump, and filter keep water at a set temperature. That is useful if you want to plunge daily. But it adds plumbing and electrical considerations. Start with the simplest option. You can always upgrade later.

- Choose and prepare your container
The container must be food grade or safe for water contact. A 100 gallon stock tank works well. Plastic stock tanks are tough and do not crack easily in cold weather. Look for one with a drain plug at the bottom. If you are taller, get a 150 gallon tank so you can submerge to the shoulders.
Clean the container before first use. Use mild dish soap and water, rinse well, then wipe with a diluted vinegar solution. Avoid harsh chemicals that leave residue. Rinse again until no smell remains. A clean surface prevents biofilm from forming on the walls.
For chest freezer builds, line the inside seams with food grade silicone or pond liner to prevent corrosion. Do not use a used freezer with rust. Rust will contaminate water and weaken the walls. If you choose a chest freezer, a 7.0 cubic foot model works for most people, while 10 cubic feet suits taller users. Search chest freezer cold plunge.
Position the tub on a flat, level surface. Concrete patios, garage floors, or deck blocks work. A full 100 gallon tub weighs over 800 pounds. Do not place it on a wood deck without checking load limits. Leave space around the tub for a cover and future chiller lines.
- Add insulation and a lid
Insulation slows ice melt and keeps water colder longer. For stock tanks, wrap the outside with a water heater blanket or closed-cell foam. Use foil tape to hold the wrap. For chest freezers, the built-in insulation already helps. Add a foam board under the tub to separate it from cold or hot ground.
A tight lid is the most important upgrade. It blocks debris, reduces evaporation, and prevents heat gain. Cut a lid from rigid foam board. You can also buy a stock tank cover. Make sure the lid fits snugly but can be lifted with one hand. If you have kids or pets, use a locking strap or add a latch.
Some builders add a floating pool cover on top of the water. This helps with heat retention and reduces humidity. It also keeps out bugs and leaves. For outdoor tubs, a cover with UV protection lasts longer.
Insulation also makes a chiller setup more efficient. A well insulated tub uses less electricity and reaches temperature faster. During hot summers, a lid alone can save 5 to 8 degrees F of warming overnight.
- Fill and chill the water to the right temperature
Fill the tub with potable water from a garden hose. Add a hose filter if your water has heavy chlorine or minerals. Leave about 6 inches of headspace so water does not overflow when you get in. This also gives you room to add ice.
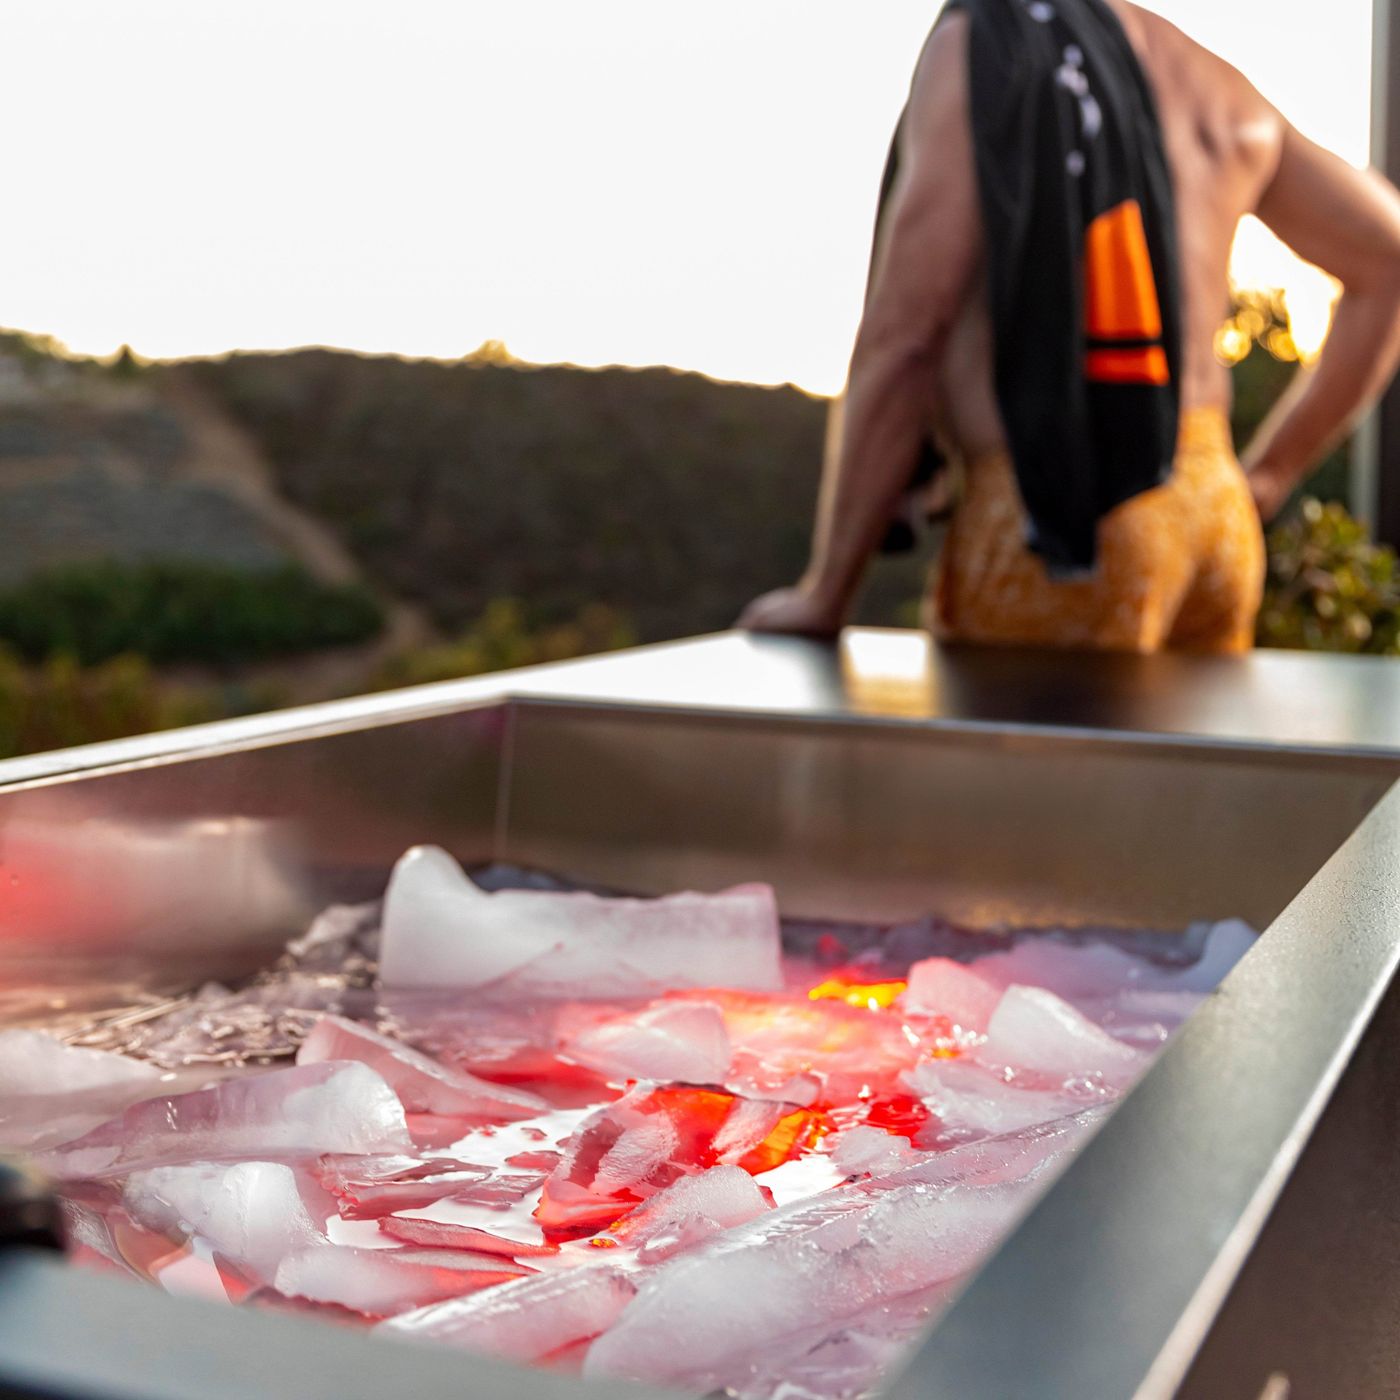
For a basic ice tub, aim for 50 to 59 degrees F as a beginner. That range is cold enough to trigger the stress response without overwhelming you. Most people use 3 to 4 bags of ice or 6 to 8 frozen one-gallon jugs for a 100 gallon tub. The exact amount depends on your tap water temperature. Use a digital water thermometer to check before you enter.
According to PubMed research, cold water immersion studies often use water between 50 and 59 degrees F for post-exercise recovery. Colder is not always better. The Mayo Clinic advises caution for people with cardiovascular conditions, as cold shock can spike heart rate and blood pressure. If you are new, stay at 55 to 59 degrees F for the first two weeks.
Chill water in stages. Add ice, stir with a clean paddle, and wait 10 to 15 minutes. Check the temperature at multiple depths. Top water can be warmer than bottom water. If you have a chiller, set the thermostat to your target and let it run for 3 to 6 hours before use.
- Set up water filtration and cleaning
Stagnant water grows bacteria fast. You need a sanitation plan even for a simple ice tub. Options include food grade hydrogen peroxide, a small amount of unscented household bleach, or a spa sanitizer. Never mix chemicals. The target is clean water, not a strong chemical smell.
A small submersible pump with a filter helps catch hair, skin cells, and debris. Run the pump for 10 to 15 minutes after each use. You can also use a pool skimmer net. For a chiller setup, include a 20 micron or finer filter in the loop.
Drain and refill a basic ice tub every 5 to 7 days if you use it daily. If you use it twice a week, you may stretch to 10 days. Chest freezer and chiller setups with filtration can go 4 to 8 weeks between refills. Always wipe the walls when you drain the tub.
Do not use harsh blue pool algaecides meant for large pools. Those can be too concentrated for a small tub. If the water gets cloudy, drain it. Do not guess with chemicals. For more on keeping water safe, see cold plunge safety guide for beginners.
- Install a chiller for consistent cold water
A chiller is a refrigeration unit that cools water through a heat exchanger. You connect a small pump, a filter, and two hoses to create a loop. The pump pulls water from the tub, pushes it through the chiller, and returns cold water. Typical DIY users choose a 1/3 hp to 1/2 hp chiller for tubs up to 150 gallons.
This step takes the setup from ice tub to near commercial performance. Temperature stays within 1 to 2 degrees F of your set point. No more buying ice every day. That is why many people upgrade after a month or two. If you are deciding between an ice bath and a true chiller plunge, read cold plunge vs ice bath.
For safety, plug the chiller into a GFCI protected outlet. Keep all electrical connections off the ground and away from water. Use reinforced vinyl tubing with hose clamps. Do not use cheap clear tubing that can kink. A 1/3 hp water chiller is a common starting point for DIY builds.
Run the chiller on a schedule. Most people cool water 2 to 4 hours before their session. You can use a timer to avoid running it all day. That cuts electricity. Chillers also add heat to the room, so ensure ventilation if the tub is indoors.

- Add safety features and finalize your setup
Safety is not optional. Cold water immersion can cause cold shock, hypothermia, and cardiovascular strain. Enter the water slowly, up to your waist, then chest. Exhale slowly. Never dive or jump in. A sudden plunge can trigger an uncontrollable gasp.
Keep a thermometer, a timer, and a towel within reach. Set a timer for 2 to 5 minutes. Do not rely on how you feel. Cold numbs and can trick you into staying too long. If your hands or feet go numb, get out.
Install a grab bar or place a sturdy step stool next to the tub. Cold muscles lose coordination. A non-slip mat on the bottom of the tub helps prevent slipping. If the tub is outside, use a motion activated light for early morning sessions.
For chest freezer conversions, always unplug the freezer before entering. You can use a switch or smart plug that cuts power completely. Do not enter a plugged-in freezer. Water and electricity do not mix. Check the cold plunge safety guide for beginners for a full pre-plunge checklist.
- Test, measure, and build your plunge routine
Test the full setup without you in the water first. Fill it, chill it, and run the pump for a full cycle. Check for leaks, odd smells, or electrical issues. Measure temperature at the surface and near the bottom. Only then do a first short session of 1 to 2 minutes.
Keep a simple log. Record water temperature, session length, and how you felt after. This helps you adjust. The goal is consistency, not extremes. Many coaches recommend 2 to 3 sessions per week. See how often cold plunge for frequency guidelines.
Pair cold plunge with sauna or breath work only after you have built cold tolerance. A hot sauna followed by cold plunge is popular. But rapid temperature shifts can stress blood pressure. If you combine heat and cold, check best home saunas 2026 and Wim Hof breathing guide for safe protocols.
Once your routine is stable, you can refine. Lower the temperature gradually by 1 to 2 degrees F per week. Never drop from 59 to 45 in one week. Track recovery, sleep, and soreness. If you feel drained instead of refreshed, back off. The aim is better recovery, not suffering.
Red Flags & Warnings
- 🚨 Cold shock can cause rapid breathing, gasping, and a spike in heart rate. Enter the water slowly. If you start to hyperventilate, stand up and exit. Do not plunge your head under cold water on your first few sessions.
- 🚨 Never cold plunge alone if you have a heart condition, high blood pressure, or if you are new to cold exposure. Bring a spotter who can reach you and call for help.
- 🚨 Water below 50 degrees F raises hypothermia risk quickly. Limit sessions to 2 to 3 minutes in very cold water, or stay above 50 degrees F until you have built tolerance. Violent shivering is a sign to get out.
- 🚨 Do not use a chest freezer with the power on while you are inside. Unplug it before entering. A GFCI outlet is not a substitute for unplugging. Electricity near water can be lethal.
- 🚨 Do not mix cold plunge with alcohol, sedatives, or medications that impair thinking or circulation. These can mask hypothermia and increase fainting risk.
- 🚨 If your skin turns blue, you feel dizzy, confused, or unusually weak, exit immediately and warm up. Seek medical help if symptoms do not improve within a few minutes.
Frequently Asked Questions
How much does it cost to build a DIY cold plunge?
A basic stock tank ice tub costs $50 to $200. A chest freezer conversion runs $200 to $600. A full chiller setup can cost $800 to $2,500 or more. Used materials and seasonal sales reduce the cost.
What is the best temperature for a DIY cold plunge?
Beginners do best at 50 to 59 degrees F. Experienced users may go lower, but very cold water below 39 degrees F increases hypothermia risk. Start warmer and lower the temperature gradually.
How often should I use my DIY cold plunge?
Two to three sessions per week is a solid starting point. Daily use is possible for experienced people, but recovery may suffer if you go too hard too soon. Let your sleep and muscle soreness guide you.
Can I make a cold plunge from a chest freezer?
Yes. A chest freezer already has insulation. You must seal the seams, unplug before entering, and add a controller if you want precise temperature. Many builders convert 7 to 10 cubic foot freezers.
Do I need a chiller for a DIY cold plunge?
No. An ice tub works fine for occasional use. A chiller is worth it if you plunge several times a week and do not want to buy ice or wait for water to cool. It also keeps temperature stable overnight.
How do I keep DIY cold plunge water clean?
Use a small pump and filter, cover the tub, and sanitize with food grade hydrogen peroxide or a diluted spa sanitizer. Drain and refill every 5 to 10 days for basic tubs. Wipe the walls when you drain.
What Should You Remember?
- Start at 50 to 59 degrees F. Beginner sessions of 2 to 5 minutes reduce risk and still deliver recovery benefits.
- Choose a stock tank or chest freezer first. A basic build costs under $200 and proves the habit.
- Use a lid and insulation. It cuts ice melt, keeps water clean, and lowers chiller energy use.
- Never plunge alone. Cold shock and fainting can happen fast, even to healthy people.
- Sanitize and filter the water. Clean water prevents skin issues and extends time between refills.
- Upgrade to a chiller only after you are consistent. A 1/3 hp chiller holds temperature without daily ice.
- Track your sessions. Record temperature, time, and recovery to find your best dose.
This article is for general information only and is not medical advice. Cold water immersion and sauna use can be risky for people with cardiovascular conditions, Raynaud’s disease, or who are pregnant. Always consult a physician before beginning cold therapy or heat therapy.