A cold plunge can deliver real recovery benefits. It may reduce soreness and improve mood. Many people pay $2,000 or more for a commercial tub. You can build your own for a fraction of that cost. A chest freezer conversion is the most popular DIY route. It gives you a large, insulated, and ready to chill container. You just need to make it safe for water. This guide walks you through the full process. Learn more about the science in our cold plunge benefits guide.
Cold water immersion is not risk free. Cold shock can make you gasp and raise heart rate. The Cleveland Clinic warns that sudden cold exposure stresses the heart. That is why electrical safety and temperature control matter so much. You also need a solid lid, a dry floor, and a plan for sanitation. If you are new to cold exposure, read our cold plunge safety guide for beginners before you start. This project is not a toy.
Why use a chest freezer? Chest freezers are insulated, durable, and cheap on the used market. A 7 to 15 cubic foot model holds enough water for most adults. You can often find one for $100 to $300. A purpose built cold plunge can cost $2,000 to $10,000. The freezer conversion takes one weekend. It also gives you exact temperature control. That is a big advantage over an ice bath.
This article covers every step from freezer selection to monthly maintenance. You will learn how to seal the interior, wire a controller, and set a safe water temperature. We also cover water sanitation, entry safety, and beginner protocols. Ready to build? Let’s start with the freezer itself.
What You’ll Need
- 7 to 15 cubic foot chest freezer with a flat bottom and no internal drain hole damage
- Food grade silicone sealant or waterproof pond liner
- External temperature controller (e.g., Inkbird ITC-308)
- GFCI outlet or inline GFCI adapter
- Submersible water pump and filter
- Water sanitizer (ozone generator, UV clarifier, or food grade hydrogen peroxide)
- Non-slip step stool and rubber mat
- Digital thermometer with probe
How Do You Convert a Chest Freezer into a Cold Plunge Safely?
- Choose the right chest freezer and inspect it.
Pick a chest freezer between 7 and 15 cubic feet. A 7 cubic foot model works for most people up to about 6 feet tall. Larger models give more room but use more electricity. Measure your space before you buy. Check the interior liner for cracks or rust. A damaged liner can leak or contaminate your water.
Avoid freezers with a drain hole inside unless you can seal it completely. Many chest freezers have no drain. That is fine. Look for a flat bottom without sharp edges. A smooth interior makes sealing easier. Check the lid gasket too. It should form a tight seal when closed.
Used freezers are popular. But inspect the compressor and coils. Plug it in and listen for strange noises. The compressor should run quietly. If it struggles, walk away. This freezer will run many hours to chill water. You can shop chest freezer options on Amazon.
Place the freezer on a concrete floor or a reinforced platform. A filled freezer can weigh over 600 pounds. It needs a level surface. If it sits on wood, check the joists. This step prevents cracks and leaks later. Once you have a solid freezer, you can move to sealing.
- Seal the interior seams and protect the liner.
Even a new freezer liner can have tiny gaps at the seams. Water will find those gaps and cause rust or mold. Use a food grade silicone sealant rated for continuous water contact. Clean the interior with rubbing alcohol first. Let it dry fully. Then apply a smooth bead along every seam and corner.
Do not use household caulk with mold inhibitors. Those chemicals can leach into your plunge water. Look for aquarium safe or food grade silicone. Some builders add a pond liner or a heavy duty vinyl liner inside the freezer. A liner adds a second layer of protection.
Let the silicone cure for at least 24 hours before adding water. Longer is better in cool weather. The sealant must be firm and odor free. If you smell vinegar, wait another day. This step keeps your water inside and your freezer from rusting.

- Install a temperature controller and GFCI protection.
A chest freezer normally runs at 0 degrees Fahrenheit. That is too cold for a plunge. You need an external temperature controller. It turns the freezer on and off to hold your target temperature. The cold plunge temperature guide suggests 38 to 55 degrees Fahrenheit for most users.
Buy a controller like an Inkbird ITC-308 or similar. It has a probe you place in the water. Set the controller to 45 degrees. The compressor turns on when the water warms. It turns off before the water freezes. Avoid controllers without a safety delay. The freezer needs a delay to protect the compressor.
Always plug the freezer into a GFCI outlet. If you do not have one, install an inline GFCI adapter. Water and electricity do not mix. The controller must also be rated for the freezer’s amperage. Check the freezer label. Most chest freezers draw under 5 amps. You can find temperature controllers on Amazon.
Mount the controller on the outside of the freezer. Keep all wires away from water. Use zip ties or cable clips. A short circuit can ruin the freezer or hurt you. This step is the heart of the conversion. Get it right before you add water.

- Add water filtration and sanitation.
Standing water grows bacteria. You need a way to move and clean the water. A small submersible pump with a filter helps. Run it for 15 to 30 minutes a day. The filter catches hair, skin, and debris. A basic pond pump works well. You can find submersible water pumps on Amazon.
Sanitize the water with ozone, UV, or food grade hydrogen peroxide. Chlorine is harsh and can off gas in a closed lid. Many DIY builders use a low dose of food grade hydrogen peroxide. The Mayo Clinic notes that contaminated water can cause skin and respiratory issues. Change the water every 4 to 8 weeks depending on use.
Add a small ozone generator or UV clarifier if you want low maintenance. These run on a timer. They keep the water clear without strong chemicals. Still, you must test the water weekly. A simple test strip for pH and sanitizer level works.
This step matters even if you plunge alone. Clean water protects your skin and lungs. It also keeps the freezer liner from developing biofilm. Move to filling and chilling only after you have a sanitation plan.
- Fill, chill, and set the safe temperature.
Fill the freezer with clean tap water. Leave about 6 inches of space at the top. Your body will displace water when you get in. Set the controller to 45 degrees Fahrenheit if you are new. That feels cold but not dangerous for most healthy adults. The water will cool over 12 to 24 hours.
Do not set the freezer to its built in thermostat. The compressor will run too long and the water may freeze. The external controller prevents this. Check the water temperature every few hours on day one. A digital probe thermometer gives an accurate reading.
If you see more than a thin layer of ice on the walls, raise the set point by 2 degrees. Ice can damage the liner and make entry slippery. The sweet spot for most people is 45 to 55 degrees Fahrenheit. Experienced users sometimes go to 38 degrees. Our how often cold plunge guide explains session frequency for different temperatures.
Keep the lid closed when you are not using the plunge. This saves electricity and keeps debris out. But never let children or pets access the water. A locked lid or a secondary latch is smart. Once the water is stable, you can plan your entry.
- Set up a safe entry and exit plan.
Getting in and out is where most injuries happen. Place a non-slip rubber mat in front of the freezer. Use a sturdy step stool or platform. The top edge of a chest freezer is about 30 to 36 inches high. You need a stable way to step over and lower yourself down.
Do not jump in. Lower yourself slowly using your arms. The cold will make you gasp. That is normal. Hold the side if needed. Some builders add a wooden frame around the freezer. This gives you a place to sit and pivot.
Never latch or lock the lid while you are inside. The lid should stay open or rest against a wall. A closed lid can trap you. If you have children, remove the handle or add a padlock when not in use. This is a drowning risk.
- Follow a beginner cold plunge protocol.
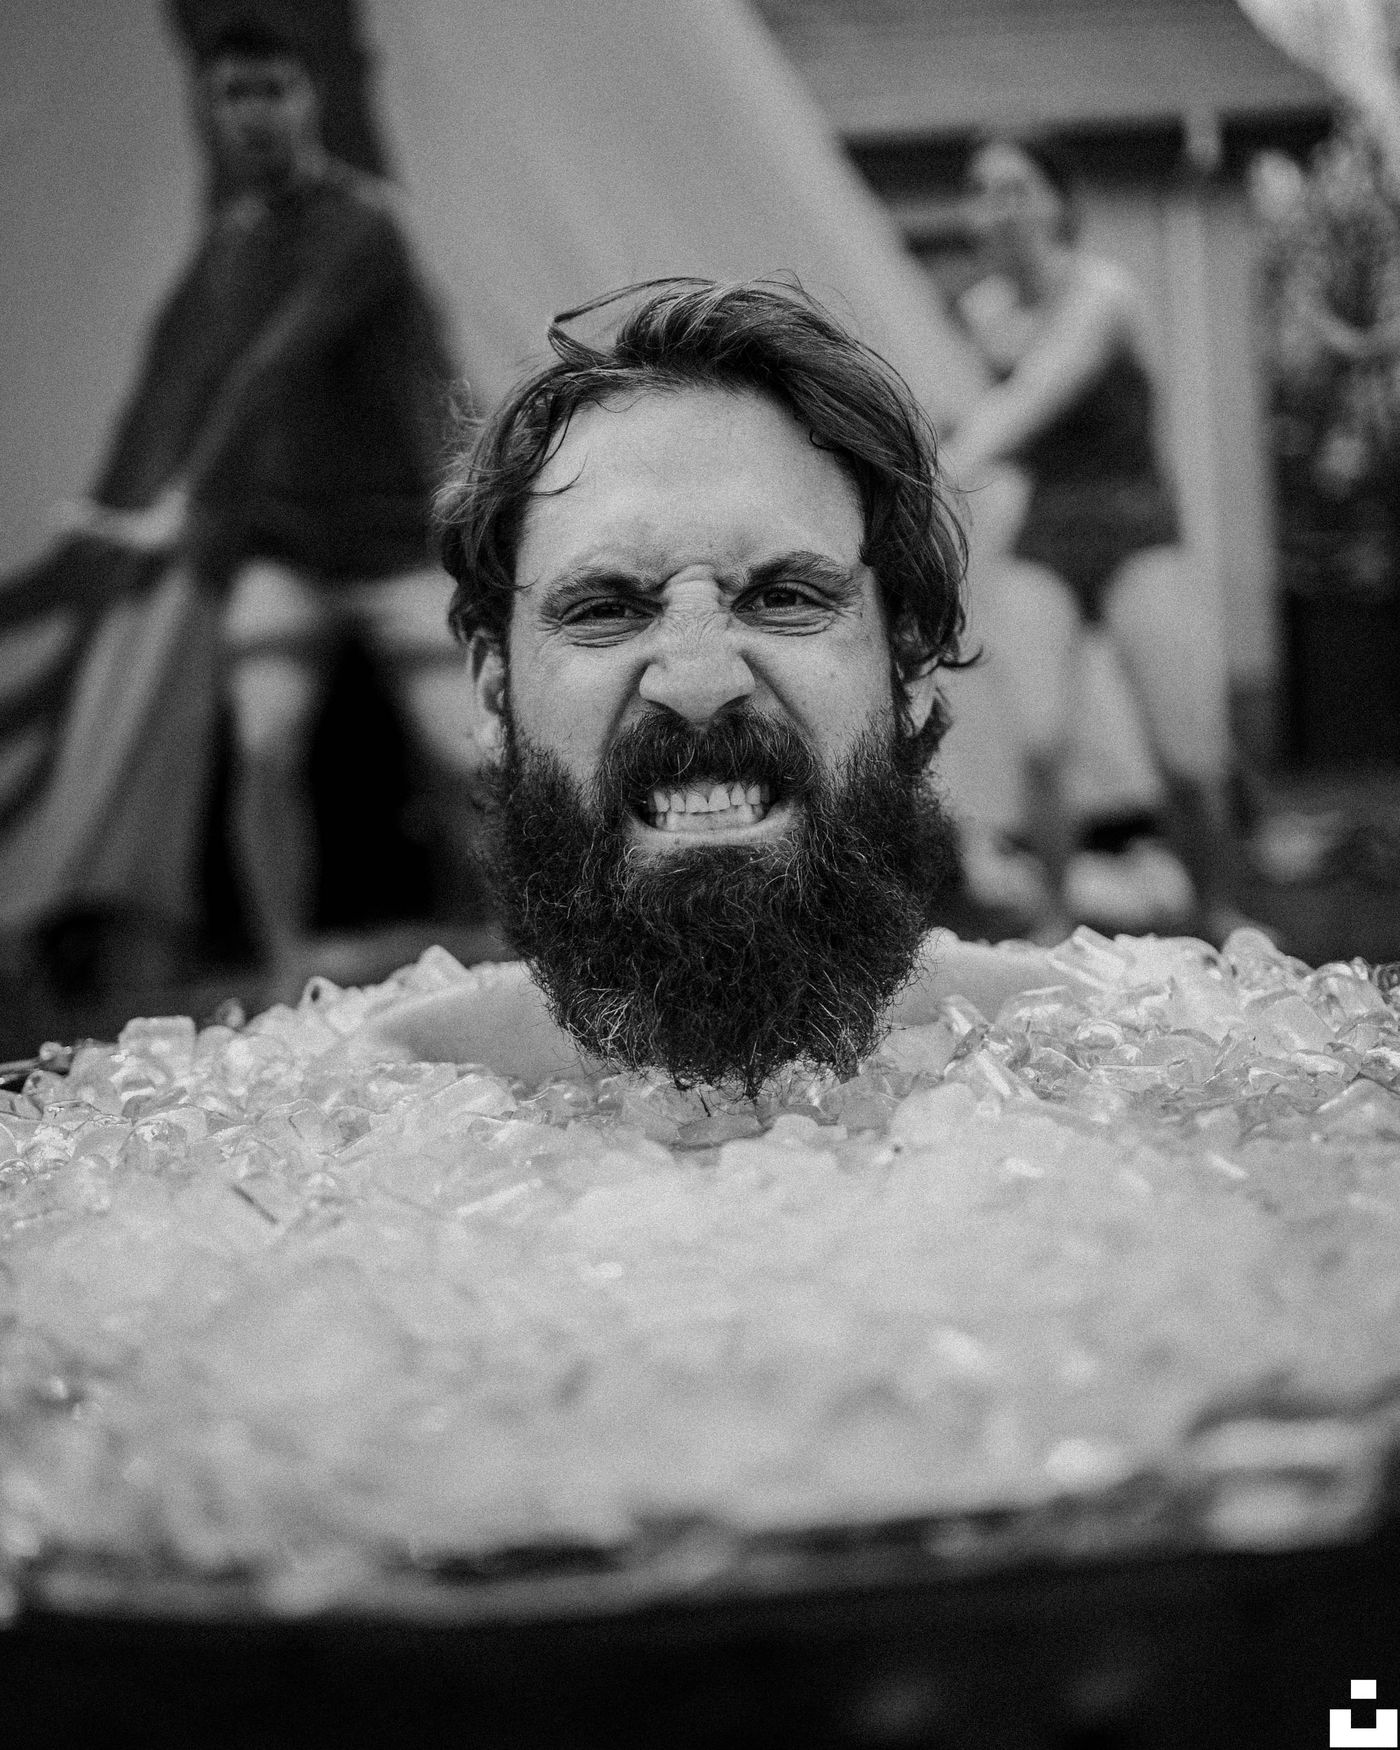
Start with 1 to 3 minutes at 50 to 55 degrees Fahrenheit. That is enough to feel the benefits. Breathe slow and steady. Do not hyperventilate before you get in. The Wim Hof breathing guide can help you prepare, but practice it on dry land first.
After a few sessions, you can lower the temperature or extend the time. But never do both at once. The cold plunge protocol for beginners recommends three sessions per week for new users. More is not better. Your body needs time to adapt.
A PubMed review notes cold water immersion may ease delayed onset muscle soreness. Still, listen to your body. If your fingers or toes go numb, get out. Shivering is normal for a short time. But intense shivering that does not stop means you stayed too long. Warm up gradually with a towel and dry clothes. Avoid a hot shower right away.
Cold water immersion is a stressor. It can feel great after. But it is not a competition. Use a timer. Keep a warm drink nearby. This step connects your build to a real recovery practice.
- Maintain the water and inspect your build monthly.
Drain and refill the water every 4 to 8 weeks. Use the submersible pump to empty it. Wipe the bottom and sides with a mild, food safe cleaner. Rinse well. Check the silicone seams for gaps or peeling. Reapply sealant if you see any issues.
Inspect the lid gasket and hinges. A broken gasket lets warm air in and raises your electric bill. Clean the filter and replace cartridges as needed. If you use ozone or UV, check the bulb or generator monthly. These small tasks keep the water safe.
Also test the GFCI outlet monthly. Press the test button and reset it. If it does not trip, replace it. This is a cheap insurance policy. Your chest freezer plunge can last for years with basic care.
Finally, log your sessions and water changes. A simple note on your phone works. That helps you spot patterns and stay consistent. A well maintained cold plunge is safer and more enjoyable.
Red Flags & Warnings
- 🚨 Cold shock is real. The first 30 seconds in cold water can make you gasp and hyperventilate. Enter slowly and never dive or jump in.
- 🚨 Hypothermia can set in faster than you think. Most beginners should stay under 3 minutes at 45 to 55 degrees. Get out if you shiver hard or feel confused.
- 🚨 Cardiovascular strain is a risk. If you have heart disease, high blood pressure, or are pregnant, talk to a doctor before cold plunging. The cold raises blood pressure and heart rate.
- 🚨 Water and electricity can kill. Always use a GFCI outlet and keep all cords and controllers dry. Never reach into the water while the freezer is plugged in if you suspect a short.
- 🚨 A chest freezer is not a pool. Never let children use it without constant adult supervision. A locked lid or removed handle can prevent drowning.
- 🚨 Do not set the freezer too cold. Water that freezes solid can crack the liner and damage the compressor. Keep the set point at 38 degrees Fahrenheit or higher.
Frequently Asked Questions
Is it safe to convert a chest freezer into a cold plunge?
Yes, if you follow electrical and sanitation rules. Use a GFCI outlet, a temperature controller, and a sealed liner. Keep the lid from locking while in use. Start with short sessions and moderate cold.
How much does a DIY chest freezer cold plunge cost?
Most builds cost between $300 and $1,200. A used freezer is $100 to $300. A temperature controller, pump, filter, and sealant add $100 to $300. A new freezer and ozone system push the cost higher.
What temperature should I set my chest freezer cold plunge?
Beginners should start at 50 to 55 degrees Fahrenheit. Experienced users often go to 45 or as low as 38. Avoid settings below 38 because ice can damage the liner. Use an external controller to hold the temp.
How often should I change the water?
Change the water every 4 to 8 weeks depending on use. More frequent use means more frequent changes. A filter and sanitizer extend water life. If the water looks cloudy or smells, change it immediately.
Can I put chlorine in my chest freezer cold plunge?
A small amount of chlorine can work, but it is not ideal. Chlorine off gasses and may irritate your skin and lungs. Food grade hydrogen peroxide, ozone, or UV are better options. Test the water weekly with strips.
Do I need to reinforce the floor under the freezer?
Yes, often. A filled chest freezer can weigh over 600 pounds. Place it on a concrete slab or a reinforced platform. Check the floor joists if it sits on wood. This prevents cracks and leaks.
What Should You Remember?
- Safety first: Use a GFCI outlet and an external temperature controller. Never skip these electrical safeguards.
- Seal the liner: Apply food grade silicone to every seam. A leak can rust the freezer and ruin the water.
- Start at 50 to 55 degrees: New users should begin warmer. Lower the temp only after a few weeks.
- Sanitize the water: Use a filter plus ozone, UV, or food grade hydrogen peroxide. Change water every 4 to 8 weeks.
- Enter slowly: Use a step stool and non-slip mat. Never jump in or lock the lid.
- Limit sessions: Start with 1 to 3 minutes, three times per week. More is not better.
- Inspect monthly: Check seams, gaskets, filters, and GFCI. Catch small issues before they become big problems.
This article is for general information only and is not medical advice. Cold water immersion and sauna use can be risky for people with cardiovascular conditions, Raynaud’s disease, or who are pregnant. Always consult a physician before beginning cold therapy or heat therapy.